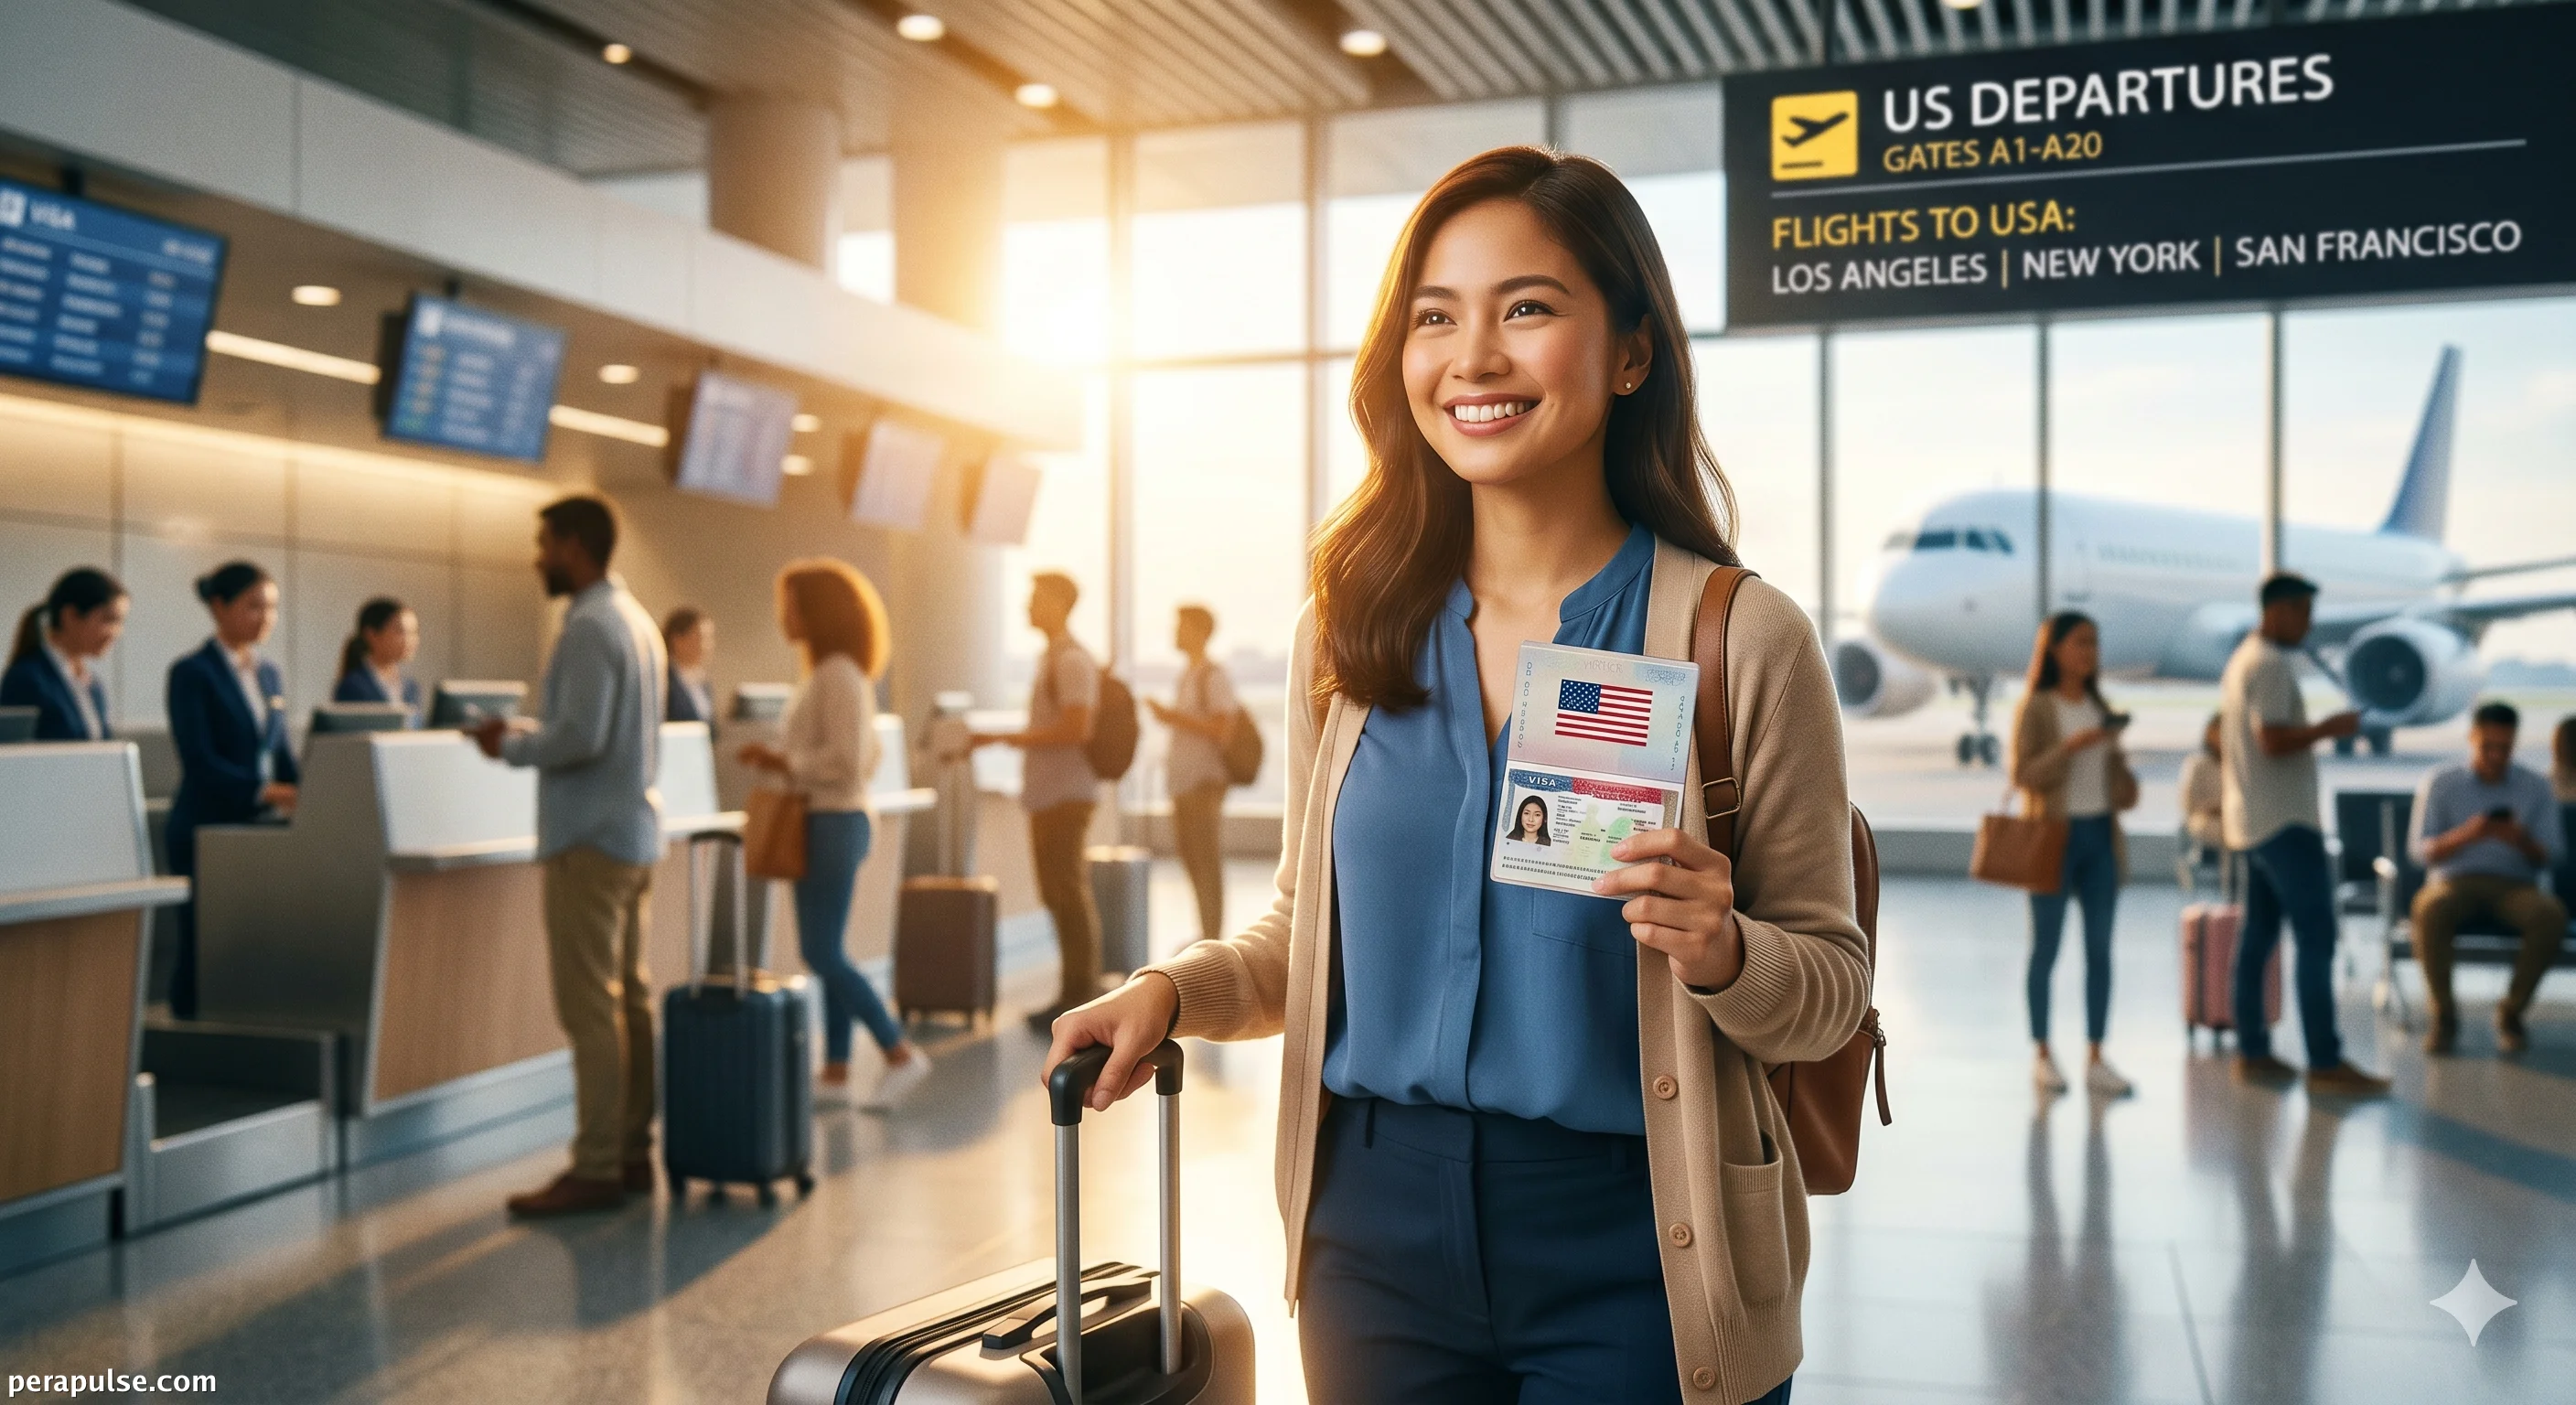
Applying for a US visa often feels like preparing for a major exam. There’s the paperwork, the fees, the scheduling, and, of course, the nervous anticipation leading up to the interview at the embassy. If you are a Filipino citizen dreaming of walking down the streets of New York, visiting family in California, or attending a crucial business conference in Chicago, securing that visa is your vital first step.
The landscape of the US visa application process for Filipinos has seen some important updates in 2026. The sequence of steps is stricter, and understanding the nuances can mean the difference between a stamped passport and a dreaded 214(b) denial slip.
This ultimate guide breaks down everything you need to know about securing a US visa as a Filipino applicant today. We are stripping away the confusing jargon and giving you a practical, human approach to getting approved.
Understanding the Types of US Visas
Before you even look at an application form, you need to know what you are applying for. The US government issues dozens of visa types, but they generally fall into two main categories:
- Nonimmigrant Visas: For temporary travel (tourism, business, study, short-term work).
- Immigrant Visas: For those intending to live and work permanently in the United States.
For the vast majority of Filipinos, the goal is the B1/B2 Visitor Visa.
- B1 (Business): For consulting with business associates, attending scientific, educational, or professional conventions, or negotiating a contract.
- B2 (Tourism): For tourism, vacation, visiting friends or relatives, medical treatment, and participation in social events.
Usually, the US Embassy in Manila issues these as a combined B1/B2 visa, often valid for 10 years with multiple entries.
The 2026 Process Update: What Changed?
If you've heard stories from friends who applied years ago, you need to update your notes. As of 2026, the application sequence is rigorously enforced. You must complete and submit your DS-160 form before you can even create a profile on the CGI scheduling portal.
Trying to bypass this or using an incomplete DS-160 to lock in an appointment date will result in your appointment being canceled or severe delays at your biometrics collection.
The golden rule for 2026 applications: Your DS-160 is your foundation. Complete it honestly, submit it fully, and guard that confirmation number. Everything else is built on top of it.
Step-by-Step US Visa Application Process
Follow these steps exactly in this order. A misstep here can cost you time and a non-refundable application fee.
- Complete the DS-160 Form
Requires ~90 minutes and a recent digital photo
insight from Kristina Mendoza
The DS-160 (Online Nonimmigrant Visa Application) is a comprehensive background questionnaire. You will fill this out at the Consular Electronic Application Center (CEAC) website. You must upload a recent 2x2 inch digital photograph that meets strict US government specifications (no glasses, white background, recent within 6 months). Once submitted, print the confirmation page with the barcode.
- Create Your Online Profile
Use the US Travel Docs or CGI portal
Head to the official US visa scheduling portal for the Philippines. Create an account using a valid email address. You will be prompted to enter your personal details, passport information, and the critical DS-160 confirmation number you generated in Step 1.
- Pay the MRV Application Fee
Current fee for B1/B2 is $185
The Machine Readable Visa (MRV) fee is non-refundable. For a standard B1/B2 tourist visa, the fee is $185. You can pay this via cash at any Rizal Commercial Banking Corporation (RCBC) branch, through RCBC's online payment portal (if you have an account), or via PesoNet. Keep your receipt; the receipt number activates your ability to schedule an appointment.
- Schedule Your Two Appointments
You do not just schedule one interview. You must book two distinct appointments: Visa Application Center (VAC): For your biometrics (fingerprints and photograph). This must happen before your embassy interview. US Embassy Consular Interview: The actual face-to-face interview with a consular officer.
- Attend the VAC Biometrics Appointment
Located in Parañaque City
Arrive at the offsite VAC (Parqal Building 8, Level 3, Diosdado Macapagal Blvd) on your scheduled date. Bring your passport, DS-160 confirmation page, and VAC appointment letter. They will take your fingerprints and a digital photograph.
- Attend the Embassy Interview
Located on Roxas Boulevard, Manila
Arrive at the US Embassy Manila no more than 15 minutes before your scheduled time. Bring your current and old passports, DS-160 confirmation, appointment letter, and supporting documents.
Demystifying the DS-160 Form
The DS-160 is more than just a form; it is your first interview. The consular officer will have reviewed your DS-160 before you even step up to the window. Pro-Tips for the DS-160:
- Save Frequently: The system times out after 20 minutes of inactivity. Save your application ID and security question answer immediately so you can retrieve it later.
- Be Specific: If asked for your occupation, don't just put "Employee." Write "Senior Financial Analyst" or "Store Manager."
- Tell the Truth: Discrepancies between your DS-160 and your interview answers are the number one cause of visa denials. If you have relatives in the US, declare them.
The Visa Application Center (VAC) Appointment
The introduction of the offsite VAC was designed to reduce congestion at the main embassy compound. It is a straightforward, administrative visit. No interviews happen here.
What to expect: You will queue up, present your documents, and have your fingerprints scanned digitally. They will also take a fresh photograph of you. Dress presentably, but you do not need to wear a suit for this step. Ensure your hands are clean and free of cuts or blisters, as this can interfere with the fingerprint scanner.
Nailing the Consular Interview at the US Embassy Manila
This is the moment most applicants dread, but it is often over in less than three minutes.
US immigration law operates under a strict presumption (Section 214(b) of the Immigration and Nationality Act): Every applicant is presumed to be an intending immigrant until they prove otherwise.
Your entire goal during the interview is to prove your "strong ties" to the Philippines. You must convince the officer that you have compelling reasons to return home after a short visit.
How to Prove Strong Ties
- Economic Ties: A stable, well-paying job, business ownership, or property investments.
- Family Ties: A spouse, children, or dependent parents remaining in the Philippines.
- Travel History: A passport filled with stamps from other countries (especially first-world nations like Japan, South Korea, Australia, or Schengen countries) shows you are a legitimate tourist who respects immigration laws.
The Interview Dynamics
When you approach the window, smile and greet the officer. Speak clearly into the microphone. Answer only what is asked.
Common Questions:
- Why are you going to the US? (Be specific. "I am going to a tech conference in Las Vegas for 4 days," is better than "Just a vacation.")
- What do you do for a living in the Philippines?
- Who is paying for your trip?
- Do you have relatives in the US?
Do not shove documents at the officer. They rarely ask for bank certificates or land titles unless they need clarification. Your DS-160 and your verbal answers carry the most weight. Keep your supporting documents organized in a folder, and only hand them over if specifically requested.
Common Reasons for Visa Denial (Section 214(b))
If the officer hands you back your passport with a white piece of paper, your visa has been denied under Section 214(b). This is not a permanent ban; it simply means you did not prove strong enough ties to the Philippines at this time.
Common triggers for denial include:
- Vague or inconsistent answers.
- Insufficient income to support the stated travel plans.
- A recent graduation with no established employment history.
- A single, young professional demographic with siblings already living illegally in the US.
If denied, do not argue with the officer. Accept the letter gracefully. You can reapply anytime, but it is highly recommended to wait until your circumstances have significantly changed (e.g., getting a promotion, getting married, or traveling extensively to other countries).
Conclusion
Securing a US visa in the Philippines is an exercise in preparation, honesty, and demonstrating stability. By meticulously filling out your DS-160, understanding the 2026 procedural updates, and walking into the US Embassy Manila with confidence and clear intent, you drastically improve your odds of success. Safe travels, and enjoy the journey!